
In this post, I will be going through how I deployed an Azure resource group with Terraform. I have recently started learning the basics of Terraform and Azure is the cloud provider that I am most familiar with so I figured it would make for an easier learning curve if I combined both technologies together.
For each Azure resource that is created with Azure CLI or Terraform, we will check if it is created in the Azure portal as well.
Setup:
- a Debian 12 Linux virtual machine (VM) with Terraform installed (hostname: debian-nfs-mgmt)
- a Azure pay-as-you-go subscription
Firstly, we’ll need to create a directory on the VM to work with:
- Create terraform-azure directory on debian-nfs-mgmt:
mkdir terraform-azure
ls
Terraform will need to authenticate to Azure to create infrastructure. We will use Azure CLI to authenticate to Azure.
Install Azure CLI on debian-nfs-mgmt:
- Download the installation script from Microsoft with curl
cd terraform-azure
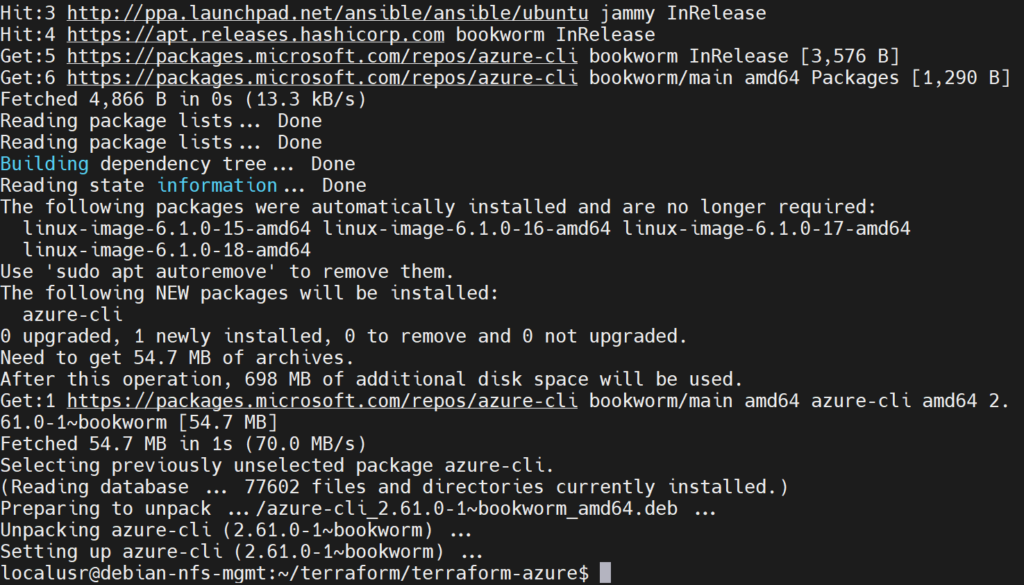
curl -sL https://aka.ms/InstallAzureCLIDeb | sudo bash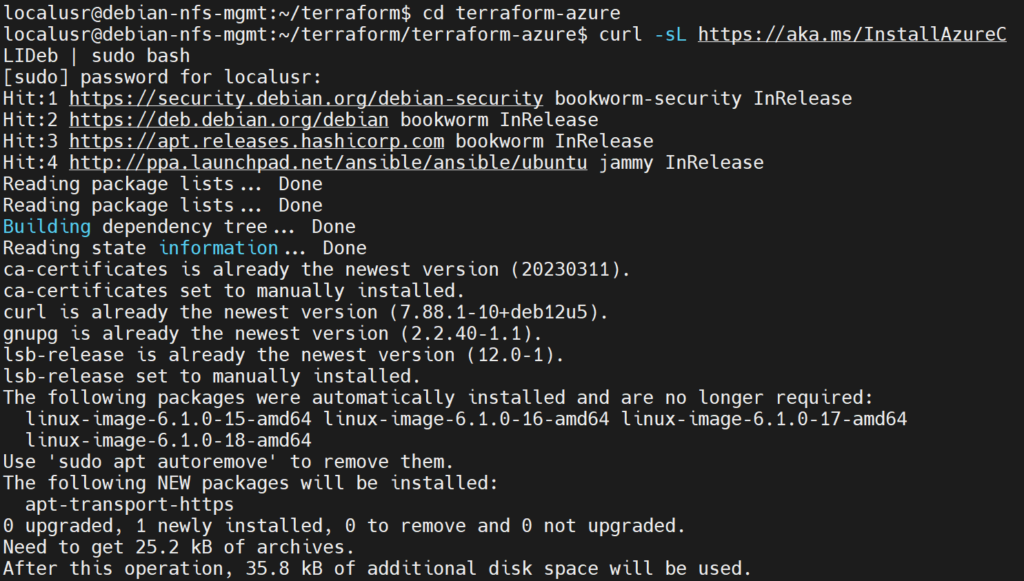
Check to see if Azure CLI is installed:
az --version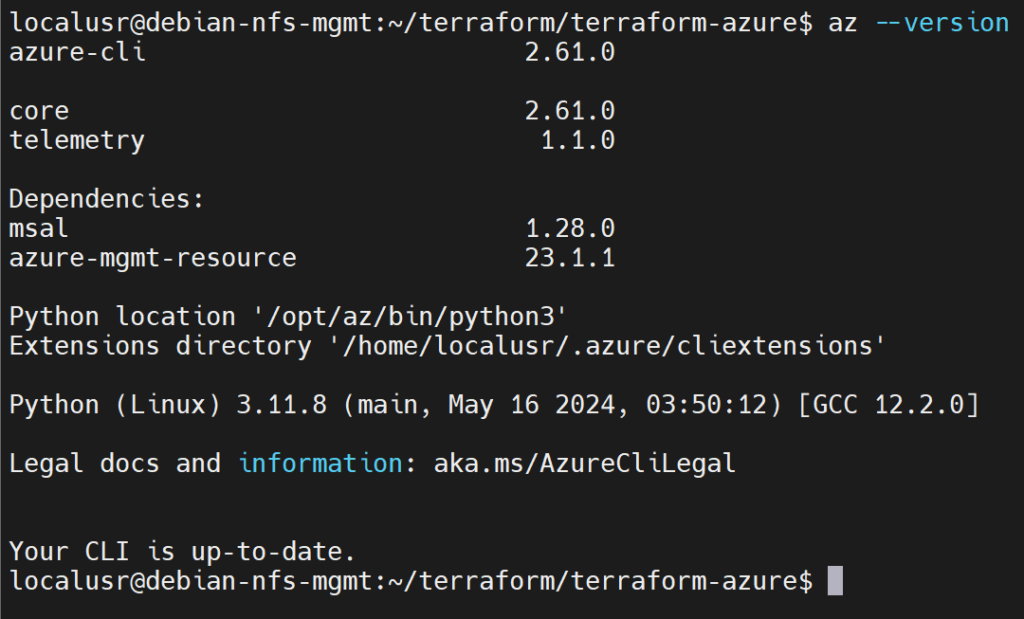
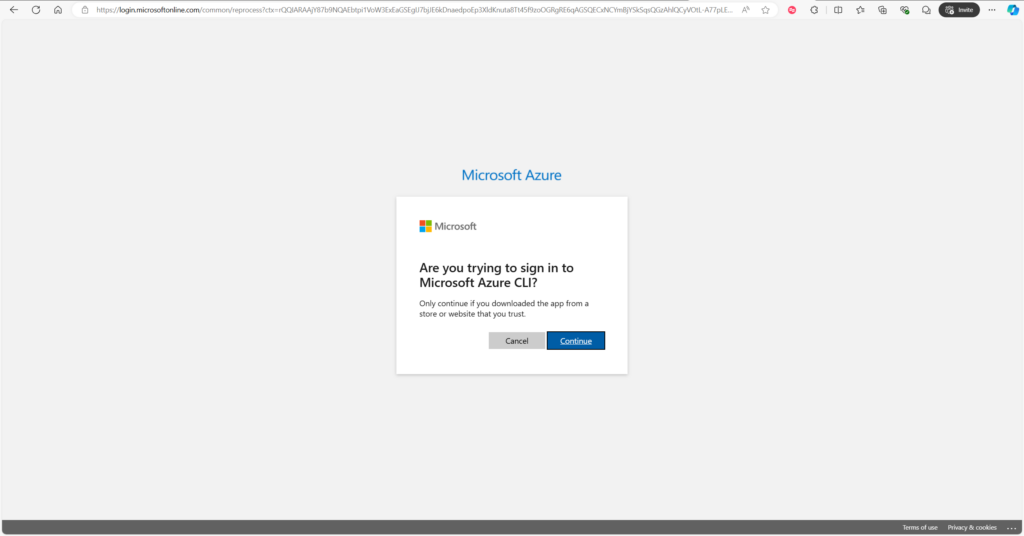
Once we have confirmed the Azure CLI is installed, we can authenticate to Azure from debian-nfs-mgmt:
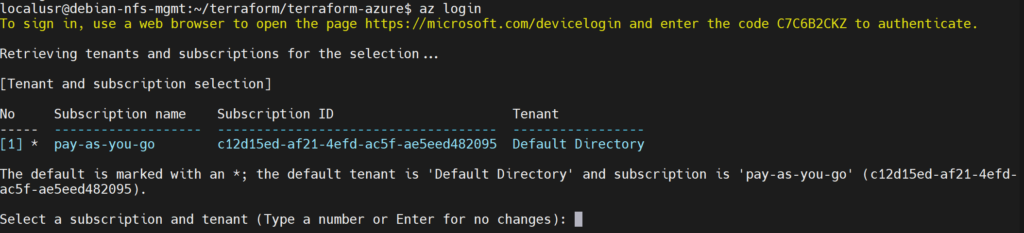
az login
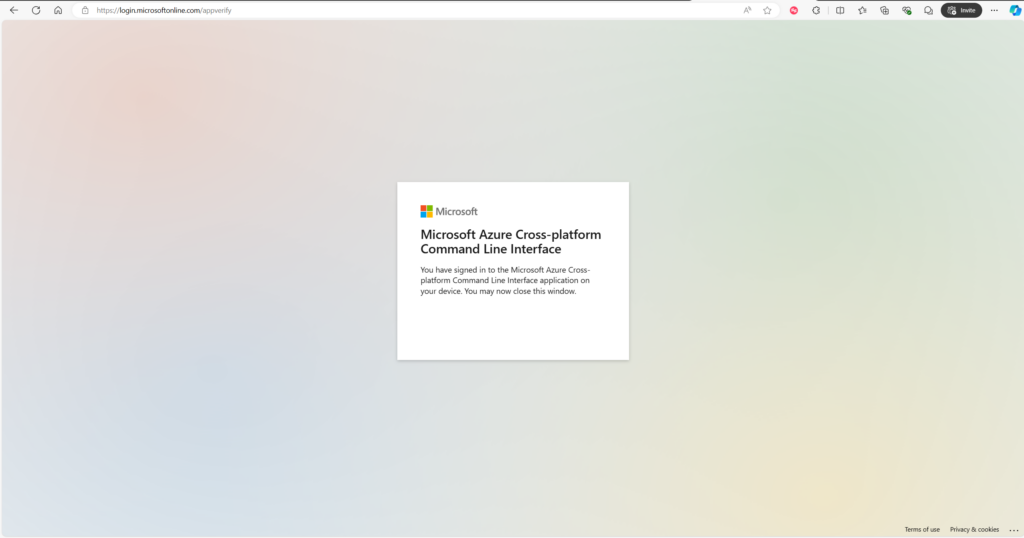
The prompt will ask us to open a web browser, in this case the VM is headless (it has no GUI) so I opened the link on another computer:
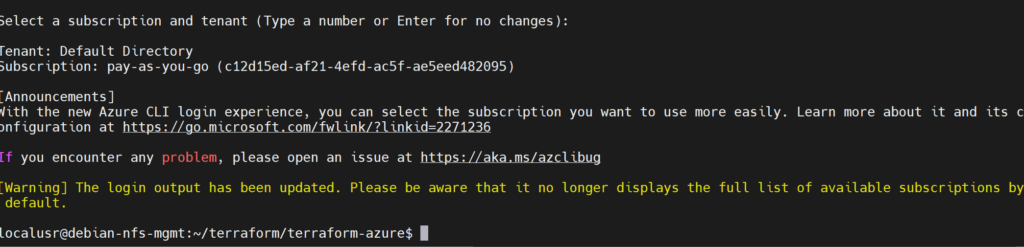
Select the subscription that we will be using, pay-as-you-go in this case:
then press enter to choose the default subscription:
Next, we create a Service Principal in our Entra ID tenant. Terraform will use this Service Principal application to perform actions for us via authentication tokens:
az ad sp create-for-rbac --role="Contributor" --scopes="/subscriptions/c12d15ed-af21-4efd-ac5f-ae5eed482095"c12d15ed-af21-4efd-ac5f-ae5eed482095 is the subscription ID that matches the subscription named pay-as-you-go we saw earlier.
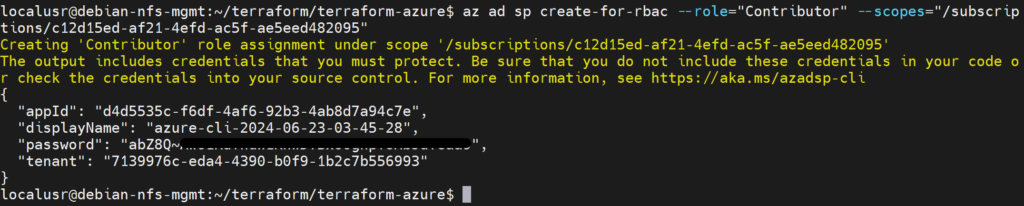
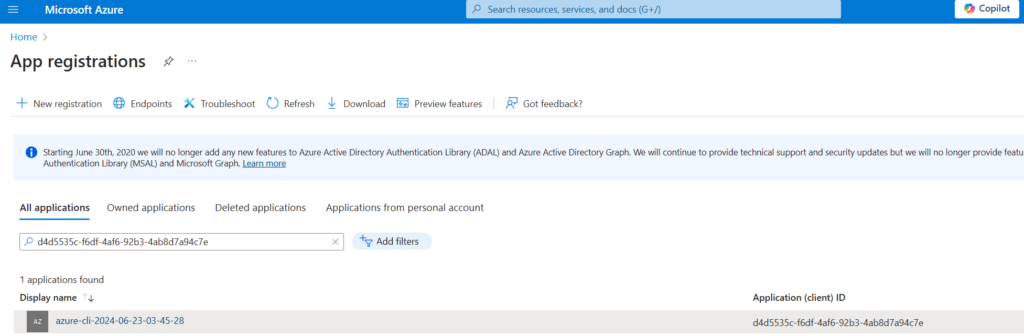
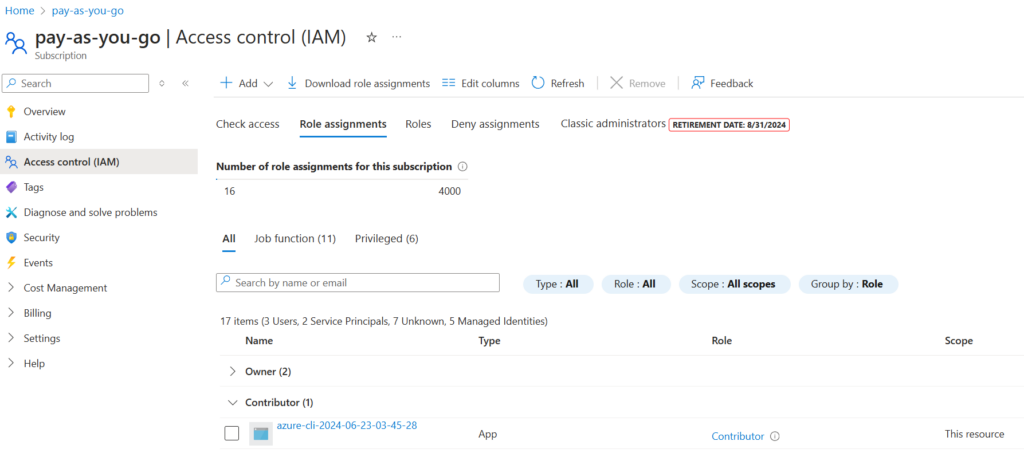
Check to see if the Service Principal application was created and the contributor role was assigned to the Service Principal:
HashiCorp recommends setting these application values (appID, password etc) as environment variables rather than saving them our Terraform configuration:
export ARM_CLIENT_ID="<APPID_VALUE>"
export ARM_CLIENT_SECRET="<PASSWORD_VALUE>"
export ARM_SUBSCRIPTION_ID="<SUBSCRIPTION_ID>"
export ARM_TENANT_ID="<TENANT_VALUE>"
Now we can start creating our Terraform configuration file, create our main configuration file:
touch main.tfPaste the configuration below into the file:
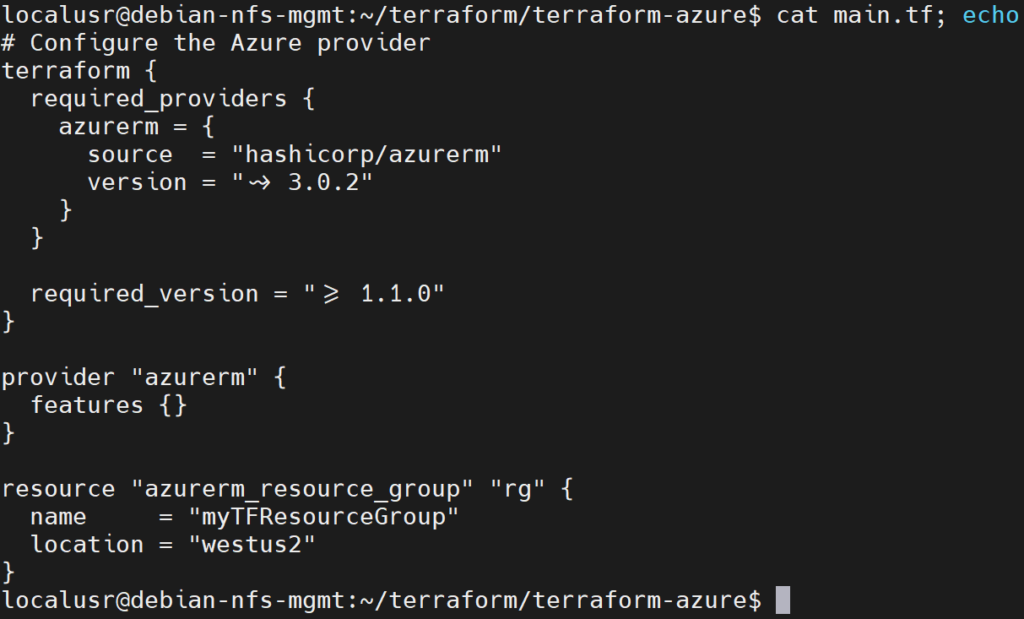
# Configure the Azure provider
terraform {
  required_providers {
    azurerm = {
      source  = "hashicorp/azurerm"
      version = "~> 3.0.2"
    }
  }

  required_version = ">= 1.1.0"
}

provider "azurerm" {
  features {}
}

resource "azurerm_resource_group" "rg" {
  name     = "myTFResourceGroup"
  location = "westus2"
}
This configuration will create a resource group named myTFResourceGroup in the West US 2 Azure region.
Confirm that configuration is correct with the cat command:
After we have our configuration file ready, we can initialize our Terraform configuration:
- Initialize Terraform configuration, make sure you run the command from the folder that the configuration file is in.:
terraform init
Terraform also has a feature to format and validate our configuration file, to format and validate our configuration we can use the following commands:
terraform fmt
terraform validate
After initializing our configuration file, we can apply our configuration to create the Azure resource group:
terraform apply
yes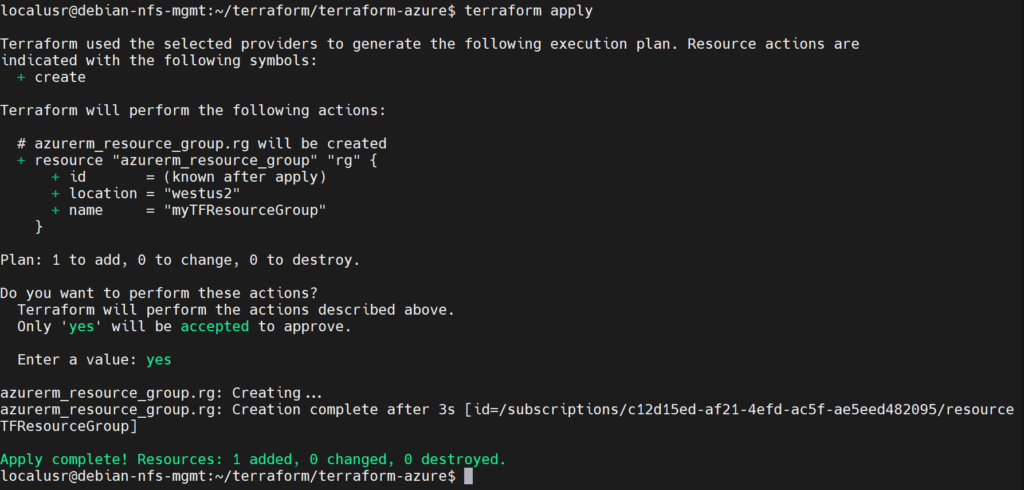
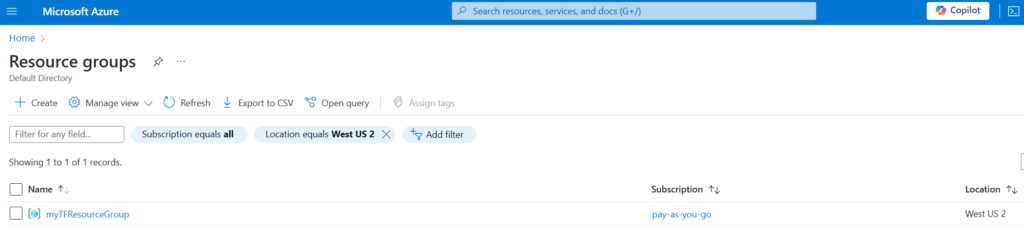
We can check to see if the myTFResourceGroup resource group is created in the West US 2 Azure region via the Azure portal:
Finally, we can inspect the current state of our Terraform configuration:
terraform show
Overall, we went through the basic setup to get Terraform up and running to work with Azure and it was interesting to see how Terraform is able to authenticate and communicate with Azure to create the resource group.